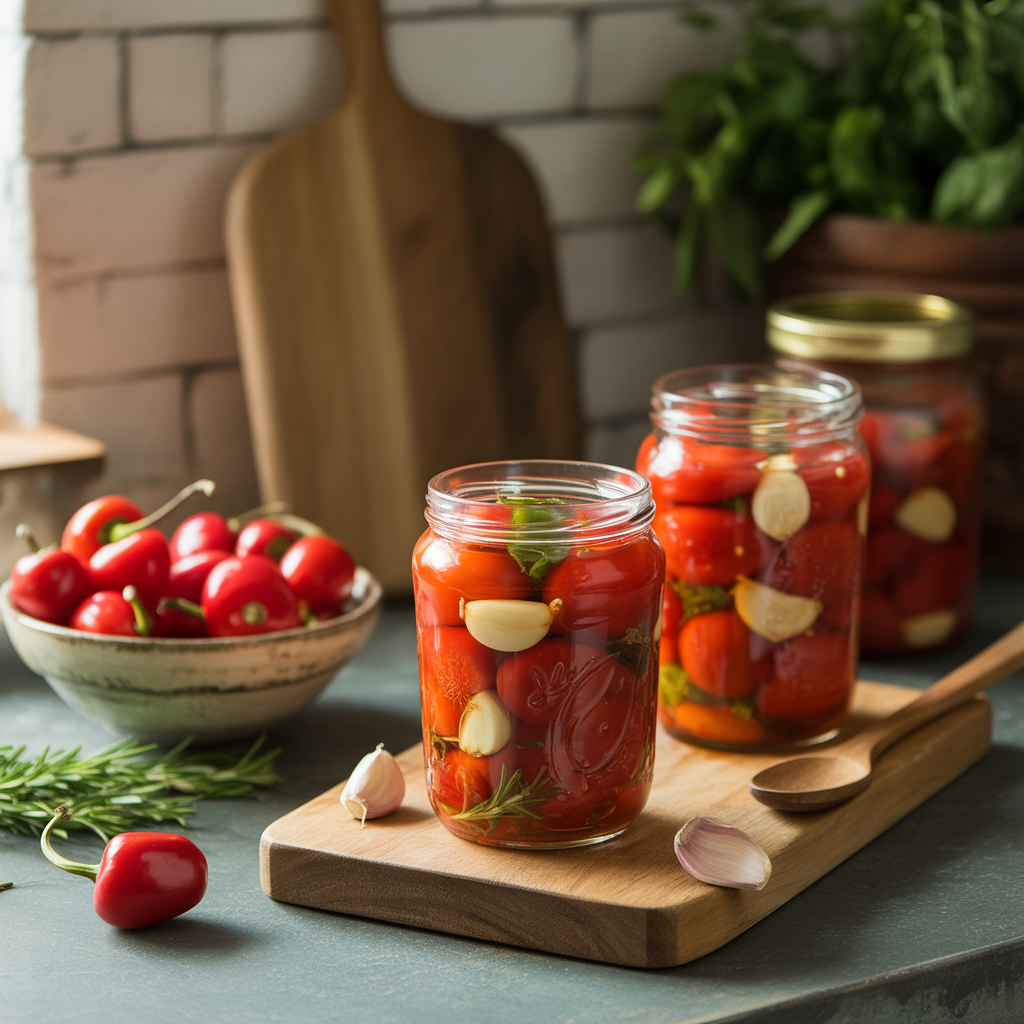
I still remember the first time I tasted pickled cherry peppers—bright red, glossy, and bursting with a tangy kick. It was at my grandmother’s kitchen during one of our late summer harvests. She’d pull out a jar from the cool cellar, unscrew the lid, and let the bold aroma fill the room. Every bite was a balance of sweet heat and vibrant vinegar—a flavor so distinct, it danced on your tongue.
That unforgettable flavor became a staple in our pantry, accompanying sandwiches, grilled meats, antipasto platters, and even pizza. Over the years, I’ve refined her old-school method into a version that’s quick, easy, and suited for home cooks of all levels. Whether you’re a seasoned canner or just getting started with pickling, this Pickled Cherry Peppers Recipe will become your new obsession.
Why Do People Love Pickled Cherry Peppers Recipe?
Pickled cherry peppers are incredibly versatile. Their vibrant color adds a beautiful contrast to charcuterie boards, and their bold, slightly spicy taste elevates everything from deli sandwiches to pasta salads. Home cooks appreciate their long shelf life, minimal prep time, and the fact that they can be customized in endless ways—from garlic-infused to honey-sweetened varieties. Plus, they’re a brilliant way to preserve a garden surplus or make use of peak-season produce.
Ingredients for Pickled Cherry Peppers Recipe
1½ pounds fresh cherry peppers (red or mixed colors, firm and unblemished)
- 1½ cups white vinegar (5% acidity)
- 1 cup water
- 2 tablespoons kosher salt
- 2 tablespoons sugar
- 4 cloves garlic, peeled and slightly smashed
- 1 teaspoon whole black peppercorns
- 1 teaspoon mustard seeds
- ½ teaspoon red chili flakes (optional for extra heat)
- Fresh herbs (optional): sprigs of thyme, oregano, or dill
- Glass jars with lids, sterilized
Ingredient Variations & Add-ins
While the classic brine creates a bold base, there’s room to play around:
- Sweet twist: Add 2 tablespoons of honey for a honey-garlic profile.
- Herbal infusion: Toss in rosemary or basil for added aroma.
- Extra heat: Slice in a jalapeño or habanero for the spicy food lovers.
- Smoky flavor: Add a small pinch of smoked paprika or a sliver of chipotle pepper.
- Color variety: Mix red and green cherry peppers for visual appeal and flavor variation.
Making Process of Pickled Cherry Peppers Recipe
1. Prep the Peppers
Wash the cherry peppers thoroughly under cold running water. Trim the stems if long, but keep a small part intact for aesthetics. You can either leave them whole or cut them in halves or quarters for quicker pickling and more infused flavor.
💡 Pro Tip: If slicing, remove seeds if you want to mellow the heat. Wear gloves to avoid chili oil burns.
2. Sterilize the Jars
Place your glass jars and lids in boiling water for 10 minutes or run them through a hot dishwasher cycle. Dry and keep them ready for filling.
3. Create the Pickling Brine
In a medium saucepan, combine vinegar, water, salt, and sugar. Bring to a gentle boil, stirring until salt and sugar dissolve completely. Reduce heat and let it simmer for 2–3 minutes. Add the peppercorns, garlic, mustard seeds, and optional chili flakes.
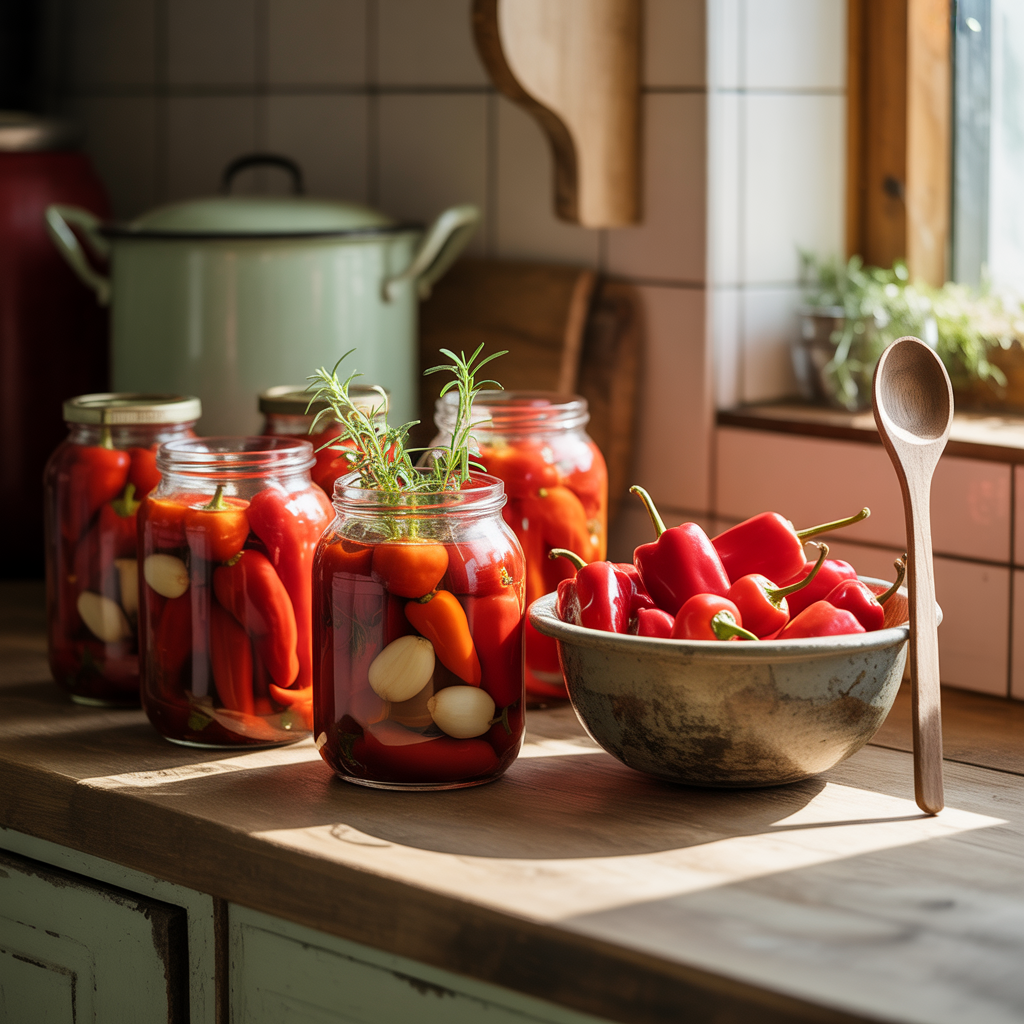
4. Pack the Jars
Fill the sterilized jars with cherry peppers tightly. Tuck in any desired herbs. Carefully pour the hot brine over the peppers, leaving about ½-inch headspace. Use a clean utensil to remove air bubbles.
5. Seal & Store
Wipe the rims of the jars with a clean towel, seal tightly, and let cool at room temperature. Store in the refrigerator for at least 5 days before using for the best flavor. If you’re canning for pantry storage, process in a water bath for 10 minutes.
Pro Tips for the Perfect Pickled Cherry Peppers
- Choose firm, unblemished peppers to ensure crunch and long shelf life.
- Let them sit for at least 5 days before tasting. The flavor deepens over time.
- Use non-reactive cookware like stainless steel or glass to prevent metallic taste.
- Slice if you’re in a rush – halved or quartered peppers pickle faster.
- Label your jars with the date and any special ingredients or flavor notes.
Final Thought on Pickled Cherry Peppers Recipe
Pickled cherry peppers aren’t just a recipe—they’re a revelation. In just a few simple steps, you can transform a bowl of fresh peppers into a spicy, tangy condiment that elevates your meals and preserves your harvest. Whether gifted during the holidays or opened for a summer BBQ, this homemade delicacy is bound to impress.
So go ahead—grab those cherry peppers and start pickling. Your future self (and your taste buds) will thank you.
Zesty Pickled Cherry Peppers Recipe for Every Occasion
A quick and easy method for pickling cherry peppers in a tangy vinegar brine with garlic, herbs, and optional heat. Ideal for sandwiches, antipasto, pizzas, and more.
Ingredients
Instructions
-
Wash the cherry peppers thoroughly under cold running water. Trim the stems if long, but keep a small part intact for aesthetics. You can either leave them whole or cut them in halves or quarters for quicker pickling and more infused flavor.Pro Tip: If slicing, remove seeds if you want to mellow the heat. Wear gloves to avoid chili oil burns.
-
Place your glass jars and lids in boiling water for 10 minutes or run them through a hot dishwasher cycle. Dry and keep them ready for filling.
-
In a medium saucepan, combine vinegar, water, salt, and sugar. Bring to a gentle boil, stirring until salt and sugar dissolve completely. Reduce heat and let it simmer for 2–3 minutes. Add the peppercorns, garlic, mustard seeds, and optional chili flakes.
-
Fill the sterilized jars with cherry peppers tightly. Tuck in any desired herbs. Carefully pour the hot brine over the peppers, leaving about ½-inch headspace. Use a clean utensil to remove air bubbles.
-
Wipe the rims of the jars with a clean towel, seal tightly, and let cool at room temperature. Store in the refrigerator for at least 5 days before using for the best flavor. If you’re canning for pantry storage, process in a water bath for 10 minutes.
Nutrition Facts
Servings 4
- Amount Per Serving
- Calories 15kcal
- % Daily Value *
- Sodium 180mg8%
- Total Carbohydrate 3g1%
- Dietary Fiber 1g4%
- Sugars 1g
- Vitamin C 20 mg
* Percent Daily Values are based on a 2,000 calorie diet. Your daily value may be higher or lower depending on your calorie needs.